Products
Hair Care
Hair Removal
Skincare
Intimate Care
Body care
About
Contact
Free shipping at $69
SilkyStraight
Frizz-free, sleek and shiny results
Discover
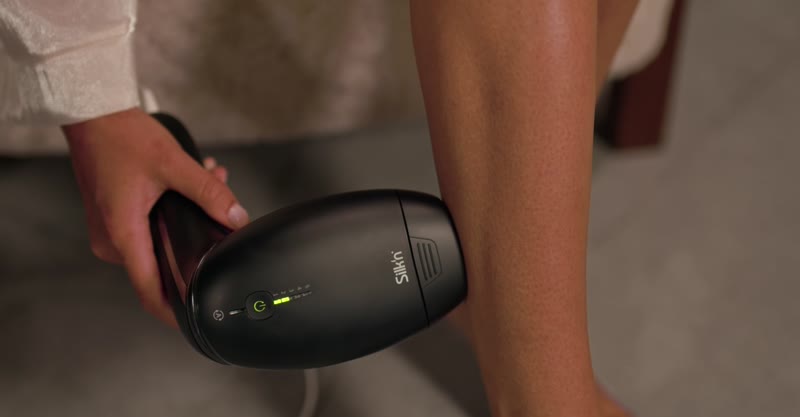
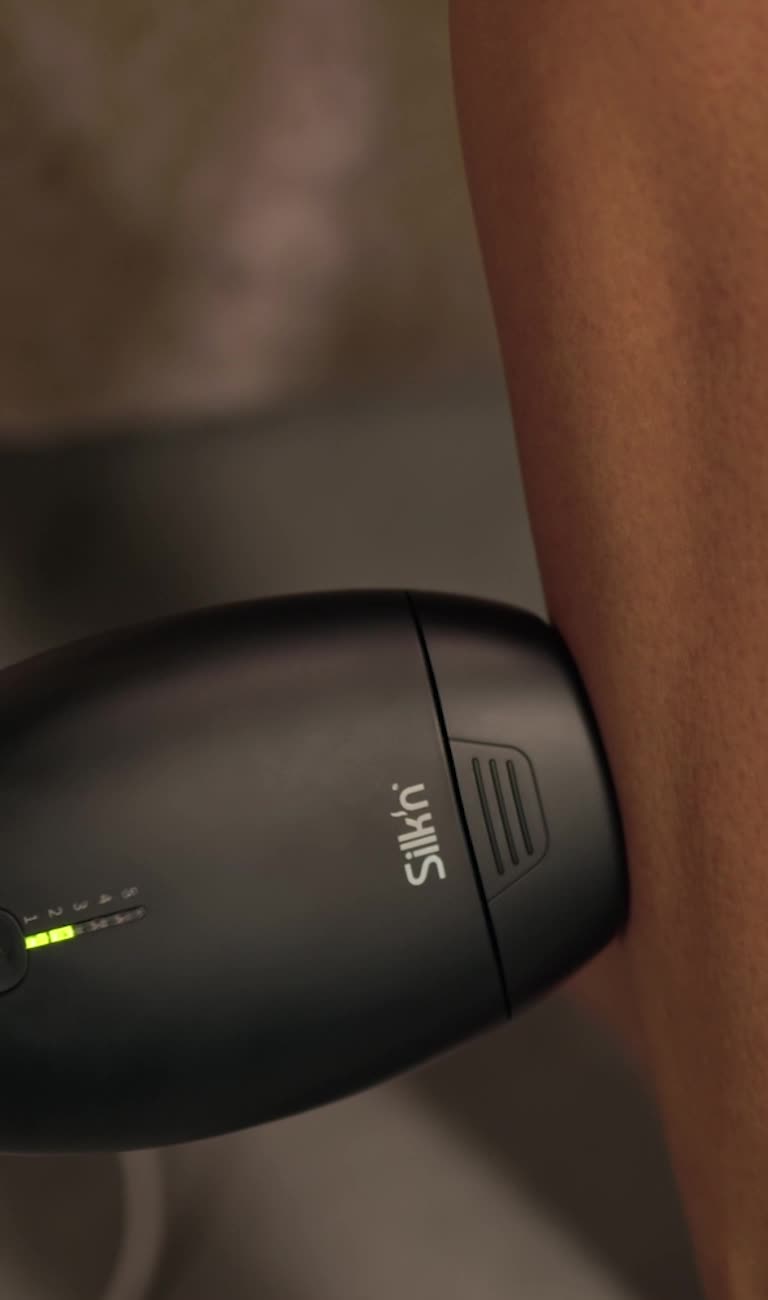
Embrace the future of hair removal
Our next-level IPL device with patented technology that combines Galvanic and Optical energy. Redefining long-lasting, hair-free skin.
Discover
Hair care
DISCOVER
SilkyAir Flex
All-in-One Hair Dryer and Styling Tool
Discover
SilkyAir Pro
The newest generation hairdryer
Discover
SilkyStraight
Infrared hair straightener
Discover
Facial care
DISCOVER
Hair Removal
DISCOVER
Silk'n 7
IPL device with rotatable head
Discover
Infinity Fast
Ultra-fast hair removal
Discover
Motion Premium
Ergonomic hair reduction
Discover
The power of LED
DISCOVER